$34
Deutz D 2009 TD 2009 Engine Workshop Manual 917372 – PDF DOWNLOAD
Deutz D 2009 TD 2009 Engine Workshop Manual 917372 – PDF DOWNLOAD
FILE DETAILS:
Deutz D 2009 TD 2009 Engine Workshop Manual 917372 – PDF DOWNLOAD
Language : English
Pages : 312
Downloadable : Yes
File Type : PDF
Size: 18.2 MB
IMAGES PREVIEW OF THE MANUAL:
DESCRIPTION:
Deutz D 2009 TD 2009 Engine Workshop Manual 917372 – PDF DOWNLOAD
Foreword :
Read and observe the information in this docu- mentation. You will avoid accidents, retain the manufacturer’s warranty and possess a fully functional and ready to operate engine. This engine is built exclusively for purpose ac- cording to the scope of delivery – defined by the equipment manufacturer (use for the intended purpose). Any use above and beyond this is con- sidered improper use. The manufacturer will not be liable for damages resulting from this. The user bears the sole risk.
- Use for the intended purpose also includes ob- servance of the operating, maintenance and re- pair instructions specified by the manufacturer. The engine may only be used, maintained and repaired by persons who are familiar with this and are aware of the risks involved.
- Make sure that this documentation is available to everyone involved in the operation, maintenance and repair and that they have understood the contents. Failure to observe this documentation may lead to malfunctions and engine damage as well as in- jury to persons for which the manufacturer will not accept any liability.
- Prerequisite for proper maintenance and repair is the availability of all the necessary equipment, conventional and special tools and their perfect condition. Engine parts such as springs, clamps, elastic re- taining rings etc. pose an increased risk of injury when handled incorrectly. The pertinent rules for the prevention of acci- dents and other generally recognised health and safety regulations must be observed.
- Maximum economy, reliability and long life is only guaranteed when using DEUTZ original parts. Repair of the engine must correspond to its use for the intended purpose. Only parts released by the manufacturer for the respective purpose may be used for conversion work. Unauthorised mod- ifications to the engine exclude manufacturer lia- bility for resulting damages. Failure to observe this will void the warranty!
- The engines made by DEUTZ are developed for a wide range of applications. A wide range of var- iants ensures that the respective special require- ments are met. The engine is equipped according to the installa- tion case, i.e. not all the parts and components described in this documentation are installed in your engine necessarily. We have done our best to highlight the differenc- es so that you can easily find the operating, main- tenance and repair instructions relevant to your engine.
TABLE OF CONTENTS:
Deutz D 2009 TD 2009 Engine Workshop Manual 917372 – PDF DOWNLOAD
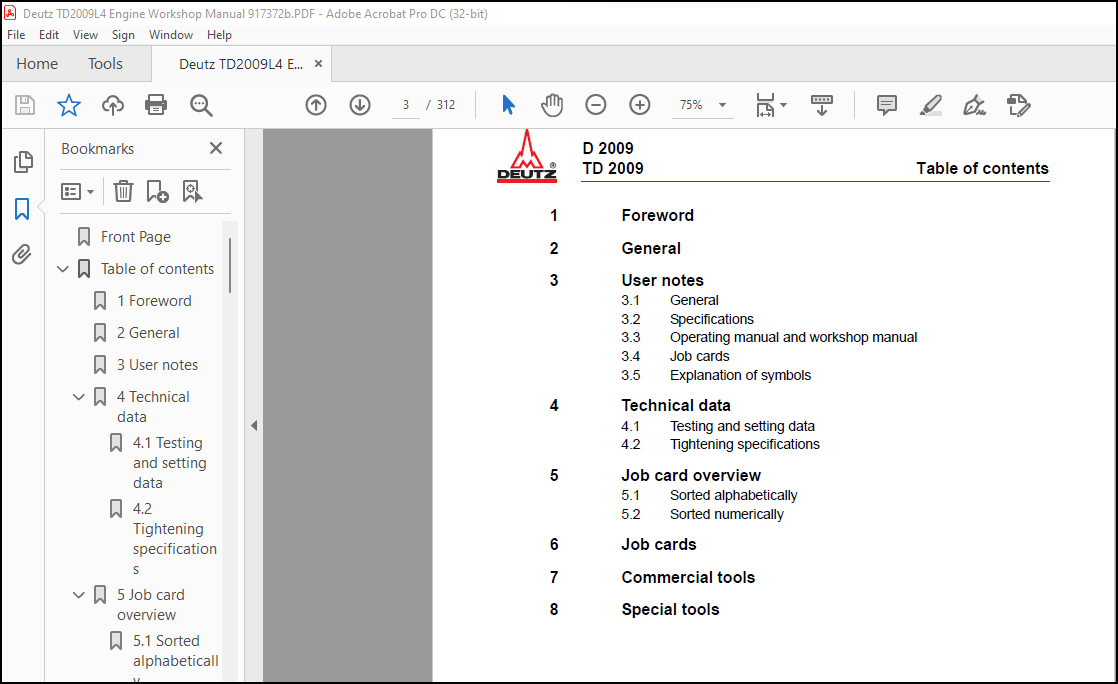
1 Foreword
2 General
3 User notes
3.1 General
3.2 Specifications
3.3 Operating manual and workshop manual
3.4 Job cards
3.5 Explanation of symbols
4 Technical data
4.1 Testing and setting data
4.2 Tightening specifications
5 Job card overview
5.1 Sorted alphabetically
5.2 Sorted numerically
6 Job cards
7 Commercial tools
8 Special tools
Front Page…………………………………………………. 1
Table of contents…………………………………………… 3
1 Foreword……………………………………………… 5
2 General………………………………………………. 9
3 User notes……………………………………………. 13
4 Technical data………………………………………… 19
4.1 Testing and setting data………………………….. 19
4.2 Tightening specifications…………………………. 23
5 Job card overview……………………………………… 27
5.1 Sorted alphabetically…………………………….. 27
5.2 Sorted numerically……………………………….. 31
6 Job cards…………………………………………….. 35
Checking the compression pressure…………………………….. 37
Checking the compression pressure…………………………….. 41
Mounting engine on assembly block and demounting……………….. 45
Removing and installing the rocker arm………………………… 49
Removing and installing cylinder head…………………………. 55
Checking piston overhang…………………………………….. 63
Removing and installing the valves……………………………. 67
Checking the valves…………………………………………. 71
Checking the axial clearance of the crankshaft…………………. 75
Checking the crankshaft……………………………………… 77
Renewing the crankshaft sealing ring (flywheel side)……………. 81
Renewing the crankshaft sealing ring (opposite side to flywheel)…. 83
Checking the con rod………………………………………… 85
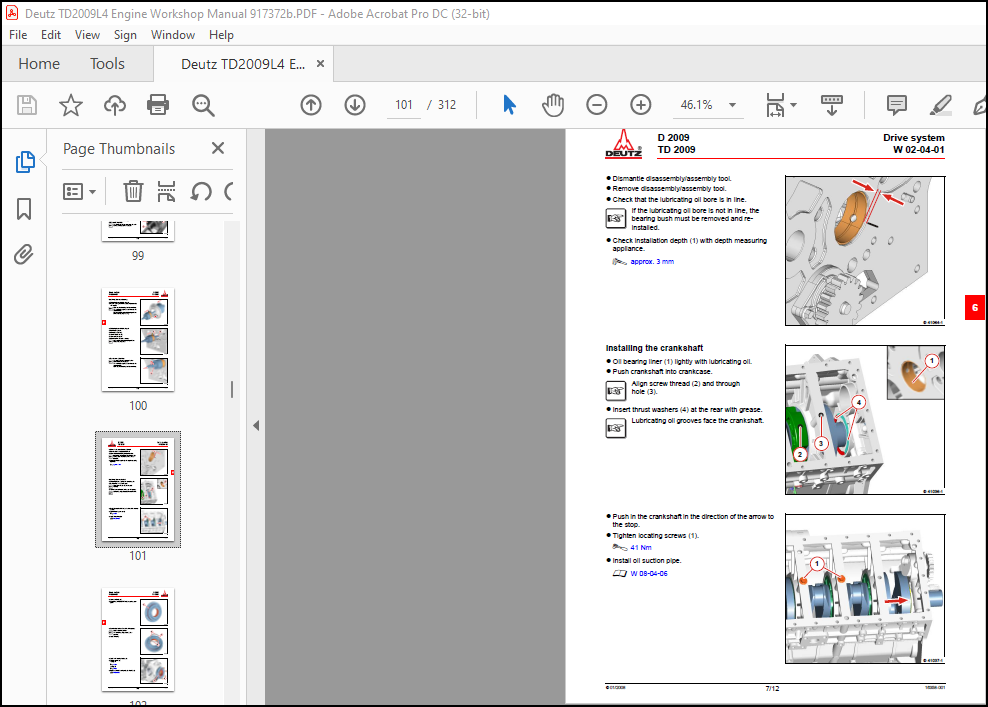
Removing and installing the crankshaft………………………… 95
Removing and installing the piston and con rod………………….107
Checking the piston………………………………………….113
Checking the piston rings and piston ring grooves……………….117
Checking the cylinder………………………………………..121
Removing and installing the connection housing………………….125
Removing and installing, testing camshaft bearing……………….129
Removing and installing the gearcase cover……………………..137
Removing and installing the camshaft…………………………..141
Checking the camshaft………………………………………..149
Removing and installing the exhaust line……………………….153
Removing and installing the turbocharger……………………….161
Removing and installing the intake manifold…………………….165
Removing and install the charge air line……………………….171
Removing and installing the cooler (Exhaust gas recirculation)……177
Removing and installing the exhaust gas return valve…………….183
Removing and installing the fuel injector pump………………….189
Setting the injection pump……………………………………201
Removing and installing the fuel injectors……………………..203
Removing and installing the fuel injectors……………………..211
Removing and installing the fuel filter console…………………219
Removing and installing the fuel supply pump……………………223
Removing and installing the lubricating oil pump………………..227
Removing and installing the oil suction pipe……………………231
Removing and installing the lubricating oil pan…………………235
Removing and installing the lubricating oil cooler………………239
Removing and installing the oil pressure switch…………………245
Removing and installing the oil pressure regulating valve………..249
Removing and installing the coolant pump……………………….253
Checking the thermostat (in the removed state)………………….259
Removing and installing the thermostat…………………………263
Removing and installing temperature transmitter…………………269
Removing and installing the V-belt pulley………………………273
Removing and installing the flywheel…………………………..277
Removing and installing the generator (V-belt drive)…………….281
Removing and installing the starter……………………………287
Removing and installing the glow plugs…………………………289
7 Standard tools…………………………………………….293
8 Special tools……………………………………………..299
More products