Starting from:
$20
Ditch Witch 1CM Attachment Operator’s Manual ID0441380 PDF
Ditch Witch 1CM Attachment Operator’s Manual ID0441380 – PDF DOWNLOAD
FILE DETAILS:
Ditch Witch 1CM Attachment Operator’s Manual ID0441380 – PDF DOWNLOAD
Language : English
Pages : 13
Downloadable : Yes
File Type : PDF
IMAGES PREVIEW OF THE MANUAL:
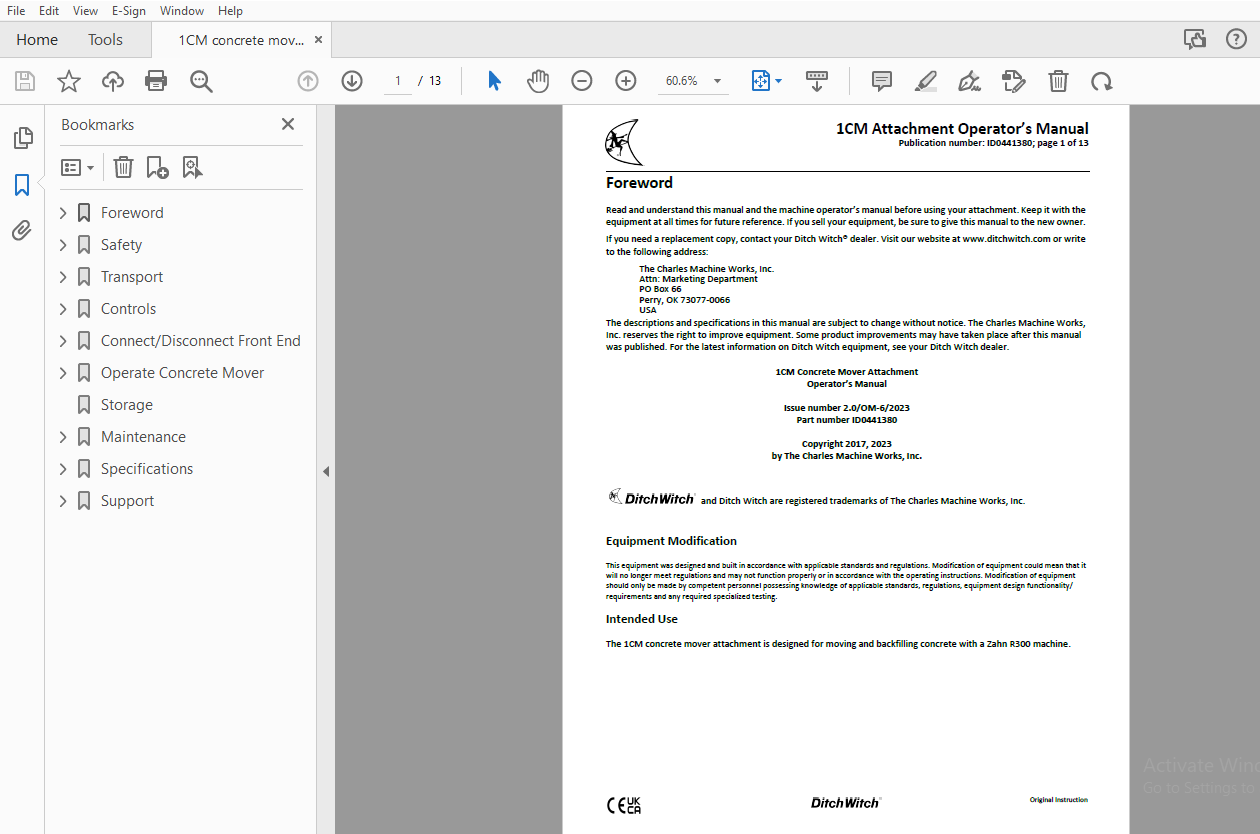
TABLE OF CONTENTS:
Ditch Witch 1CM Attachment Operator’s Manual ID0441380 – PDF DOWNLOAD
Foreword............................................................................................................................................. 1
	1CM Concrete Mover Attachment Operator’s Manual.................................................................................................. 1
	Issue number 2.0/OM-6/2023 Part number ID0441380................................................................................................. 1
	Copyright 2017, 2023 by The Charles Machine Works, Inc........................................................................................... 1
		Equipment Modification....................................................................................................................... 1
		Intended Use................................................................................................................................. 1
Safety............................................................................................................................................... 2
	Safety Alert Classifications..................................................................................................................... 2
	Safety Alerts.................................................................................................................................... 3
Transport............................................................................................................................................ 4
	Lift............................................................................................................................................. 4
	Tiedown.......................................................................................................................................... 4
Controls............................................................................................................................................. 4
	Concrete Mover................................................................................................................................... 4
	Machine.......................................................................................................................................... 4
Connect/Disconnect Front End......................................................................................................................... 5
	Connect.......................................................................................................................................... 5
		1. Attach hoist or other capable lifting device to front end at lift points.................................................................. 5
		2. Raise front end to allow just enough room for InterChange connection to move under front end.............................................. 5
		3. Align InterChange connection slot with front end pin and drive forward until pin rests in slot, as shown.................................. 5
		4. Engage parking brake and stop engine...................................................................................................... 5
		5. Disconnect front end from lifting device.................................................................................................. 5
		6. Engage retainers (shown) and hand-tighten................................................................................................. 6
		7. Using the wrench provided in the operator’s manual compartment, tighten each retainer..................................................... 6
		8. Remove dirt and debris from hydraulic couplers............................................................................................ 6
		9. Connect green hydraulic hose. Match colored tie on hose to colored dot above connector on machine......................................... 6
		10. Stop engine and connect remaining hydraulic hoses........................................................................................ 6
		11. Ensure connections are secure by pulling on hoses........................................................................................ 6
		12. Ensure cylinder pin is in the correct hole for size of tire/track........................................................................ 6
	Disconnect....................................................................................................................................... 6
		1. Turn off engine........................................................................................................................... 6
		2. Connect hoist or suitable lifting device to front end at lift points. Lift to remove slack but do not raise front end off the ground...... 6
		3. Using wrench provided in the operator’s manual compartment, disengage retainers (shown)................................................... 6
		4. Start engine and back machine away slightly............................................................................................... 6
		5. Disconnect hydraulic hoses................................................................................................................ 6
		6. Start engine and completely back away from front end...................................................................................... 6
		7. Lower front end to the ground and disconnect lifting device............................................................................... 6
Operate Concrete Mover............................................................................................................................... 7
	1. Start machine and drive it to work location................................................................................................... 7
	2. Stop machine and open top door................................................................................................................ 7
	3. Direct cement chute into tub and start transfer............................................................................................... 7
	4. Stop transfer when needed amount of concrete or grout is loaded in tub........................................................................ 7
	5. Move cement chute clear of hopper............................................................................................................. 7
	6. Close door and start machine.................................................................................................................. 7
	7. Start mixing blades........................................................................................................................... 7
	8. To release concrete or grout into trench, lower hopper into trench to desired depth........................................................... 7
	9. Turn vibrator motor on and continue to run mixing blades...................................................................................... 7
	10. Open door on tub until required flow to fill trench is reached............................................................................... 7
	11. Move machine forward while discharging material into trench. Time ground drive speed with material flow to fill trench to desired height..... 7
	12. When finished backfilling, close door and turn off vibrator and mixing blades................................................................ 7
	13. Drive machine away from work area and shut off engine........................................................................................ 7
	14. Open top door................................................................................................................................ 7
	15. Spray inside and outside of mixer tub with water to remove concrete residue.................................................................. 7
	16. Thoroughly clean tub after each use. Ensure tub is dry before storing........................................................................ 7
Storage.............................................................................................................................................. 8
Maintenance.......................................................................................................................................... 8
	10-Hour.......................................................................................................................................... 8
Specifications....................................................................................................................................... 9
	1CM.............................................................................................................................................. 9
	EU Declaration of Conformity.....................................................................................................................10
	UK Declaration of Conformity.....................................................................................................................11
Support..............................................................................................................................................12
	Procedure........................................................................................................................................12
	Resources........................................................................................................................................12
	Warranty.........................................................................................................................................13
More products