$23
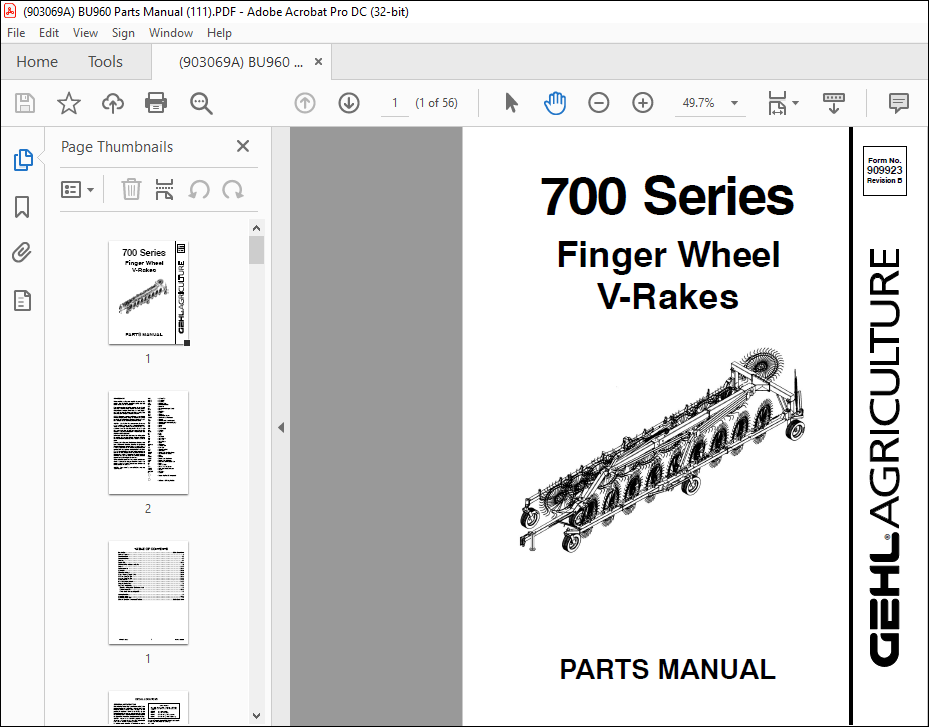
Gehl 700 Series Finger Wheel V-Rakes Parts Manual(909923) – PDF DOWNLOAD
Gehl 700 Series Finger Wheel V-Rakes Parts Manual(909923) – PDF DOWNLOAD
FILE DETAILS:
Gehl 700 Series Finger Wheel V-Rakes Parts Manual(909923) – PDF DOWNLOAD
Language : English
Pages : 56
Downloadable : Yes
File Type : PDF
Size: 2.71 MB
TABLE OF CONTENTS:
Gehl 700 Series Finger Wheel V-Rakes Parts Manual(909923) – PDF DOWNLOAD
Introduction Inside Front Cover
Table of Contents 1
Decal Locations 2-3
Attachment Frame 4-7
Drawbar 8-9
Tongue Kits 10-14
Windrow Width Adjustment Device 15
Frames 16-17
Adjustment Arm 18-19
Hydraulics 20-25
Front Caster Wheel 26-27
Finger Wheels (Right & Left) 28-29
2-Wheel Extension Kit 30-31
4-Wheel Extension Kit 32-33
Flex Frame Kit 34-35
5th & 6th Ground Wheels 36-37
Transport Safety Bars 38
Options & Accessories 39-43
Hitchjack, Wind Shield Kit, Tandem Axle 39
Splitter Wheel Kit 40-42
Safety Chain, Transport Light Kit 43
Alphabetical Index 44
Numerical Index 45-51
Hydraulic Fitting Data 52
Standard Hardware Torque specifications Inside Back Cover
DESCRIPTION:
Gehl 700 Series Finger Wheel V-Rakes Parts Manual(909923) – PDF DOWNLOAD
- Introduction
- When ordering service parts, specify the correct part number, full description, quantity required, the unit model number and serial number.
- The model number and serial number for the Wheel Rake is on a decal located on the back side of the left side width adjustment wheel pivot frame member.
- “Right’’ and “left’’ are determined from a position standing at the rear of the unit facing the direction of travel. GEHL Company reserves the right to make changes or improvements in the design or construction of any part of the unit without incurring the obligation to install such changes on any previously delivered units
GENERAL INFORMATION
- Decal location information is provided to assist in the proper selection and application of new decals, in the event the original decals become damaged or the machine is repainted. Refer to the listing for the illustration reference number, part number, description and quantity of each decal provided in the kit. Refer to the appropriate illustrations for replacement locations.
- To ensure proper selection of replacement decals, compare the close-up photographs to your machine BEFORE starting to refinish the unit. Then, circle each pictured decal applicable to your machine while checking off its part number in the listing. After you have verified all of the decals needed for replacement, set aside unneeded decals for disposal.
IMAGES PREVIEW OF THE MANUAL:


